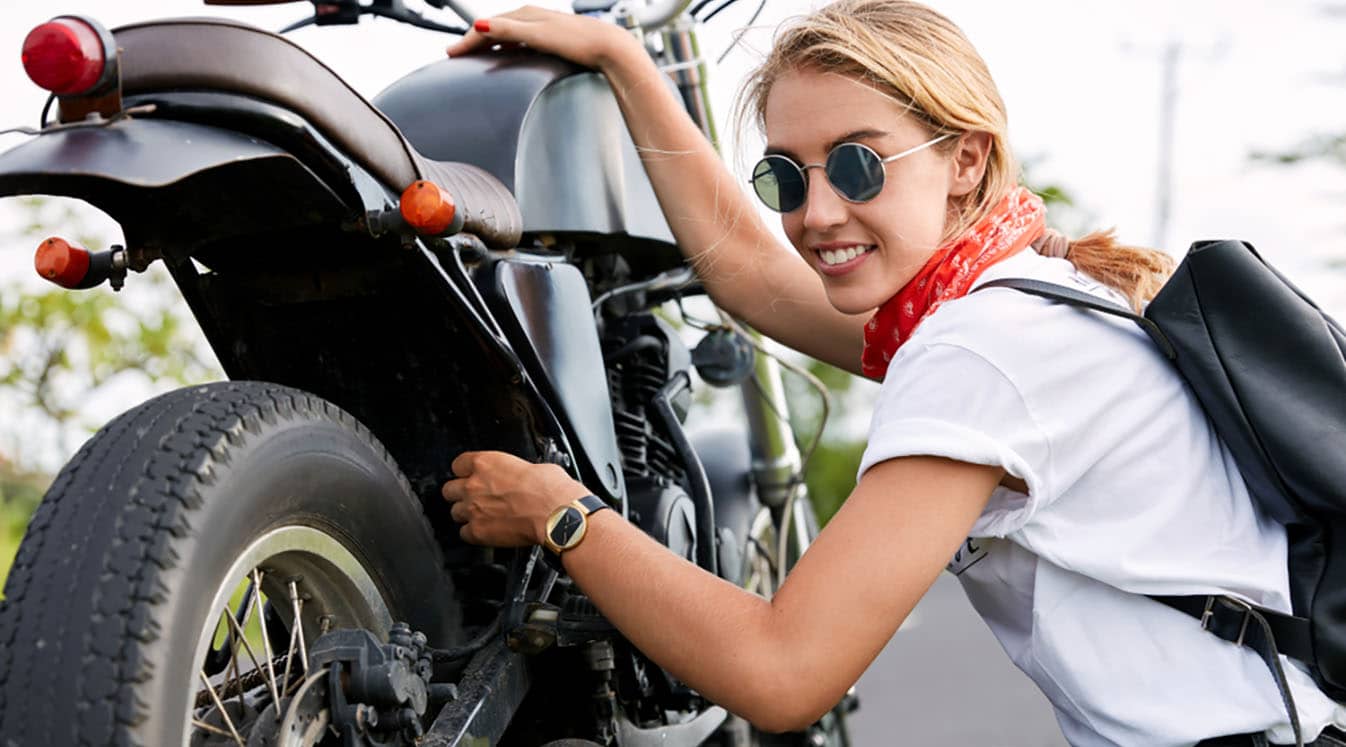
Pre-Ride Motorcycle Inspection Checklist
Source: WAYHOME studio/Shutterstock
When the urge to ride your motorcycle strikes, it’s tempting to just drop everything and go. Swing over the seat, strap your helmet on, put some tunes on in your motorcycle helmet speakers and vroom—you’re off! But seasoned riders know that how you prepare for a ride has a big effect on the safety and fun of your experience.
Specifically, they know that taking a few minutes to inspect your bike before you get on the road is a must. This process is important no matter what type of motorcycle you ride and no matter your experience level. Before you grab that throttle, here are eight steps you need to follow to make sure that your bike is ready to ride.
1. Body and Frame
First, walk a quick lap or two around your motorcycle and see if you notice anything that’s immediately and obviously wrong. Check the condition of the bike’s body and note if there’s anything that wasn’t there before. Look for cracks in the frame, especially in joint welds and places where accessories are mounted. Ensure that things like footpegs are securely attached.
2. Brakes
Next, it’s time to check your brakes. Start by examining your brake pads for signs of wear and tear. Most brake pads have a wear groove on them. When the groove disappears, your brake pads are in need of a change. Make sure also that your pads are wearing in a relatively even pattern. Finally, try out both your front and rear brakes to ensure that they feel firm and solid.
3. Electrical System
First, pop open your battery compartment and give the battery a visual inspection to make sure the terminals are firmly attached and free of corrosion. If there’s gunk accumulating on your terminals, give them a gentle wipe down with a baking soda solution. Test your battery and ensure that it has a full charge.
Next, turn the key in the ignition and make sure the console display and other electrical elements are working properly. You’ll especially want to go through a full check of all your lights, including brake lights, running lights, turn signals and, of course, your headlights (both brights and normal).
4. Wheels and Tires
First, check the pressure on your tires and make sure that they’re at the manufacturer’s recommended psi. Then, take a look to see if the tread is starting to wear out. Most tires have wear bars that appear when the tread is close to needing replacement, or you can use the “penny test.” Also check for uneven wear in your tires that can indicate misaligned wheels or other problems.
Inspect the condition of your wheels as well. Your spokes should be straight and your rims free of major dents. Make sure that bolts and spoke nipples are securely attached and tighten as necessary.

Source: kzenon/Shutterstock
5. Hoses
Take a look at the hoses that connect things, like your brake lines and radiator. These hoses are made of rubber, so you should be looking for cracks that could indicate an impending failure. Once you’ve checked for cracks, grasp each hose gently by its ends and give them a quick wiggle to verify that the hose is securely attached.
6. Handlebar Controls
First, rotate the handlebars and make sure that they have a full range of turning motion. Next, check that the controls on your handlebars (like the throttle and clutch) are working and easy to operate. If it’s been a while since you measured the play in your clutch lever, take its measurement and adjust it to make sure that you get the right level of clutch slack.
7. Fluids
You should also perform a quick check of your motorcycle’s essential fluids. For most bikes, that will include the engine oil, brake fluid, fork oil and transmission fluid (if your motorcycle uses it). In many cases, you’ll want to check these while your bike is cold, but look at your manual to find out what the manufacturer recommends.
8. Gear
Finally, make sure the gear that keeps you safe and connected is in working order:
-Helmet is free of cracks and visor is clean
-Gear fits well and doesn’t rub uncomfortably
-Motorcycle communication system is fully charged and connects to your devices
If you’re riding with a passenger, make sure to check their gear as well. On a motorcycle, one rider’s safety is both riders’ safety!

That wasn’t so bad, was it? Now you’re ready to rock and roll with a bike that’s in great shape. Grab your helmet communication system and your riding buddies and hit the road!
